Interactive Brokers offers a robust tool called Flex Queries that allows you to customize and export your trade history efficiently. This guide will walk you through the step-by-step process to export your trade data using Flex Queries on Interactive Brokers.
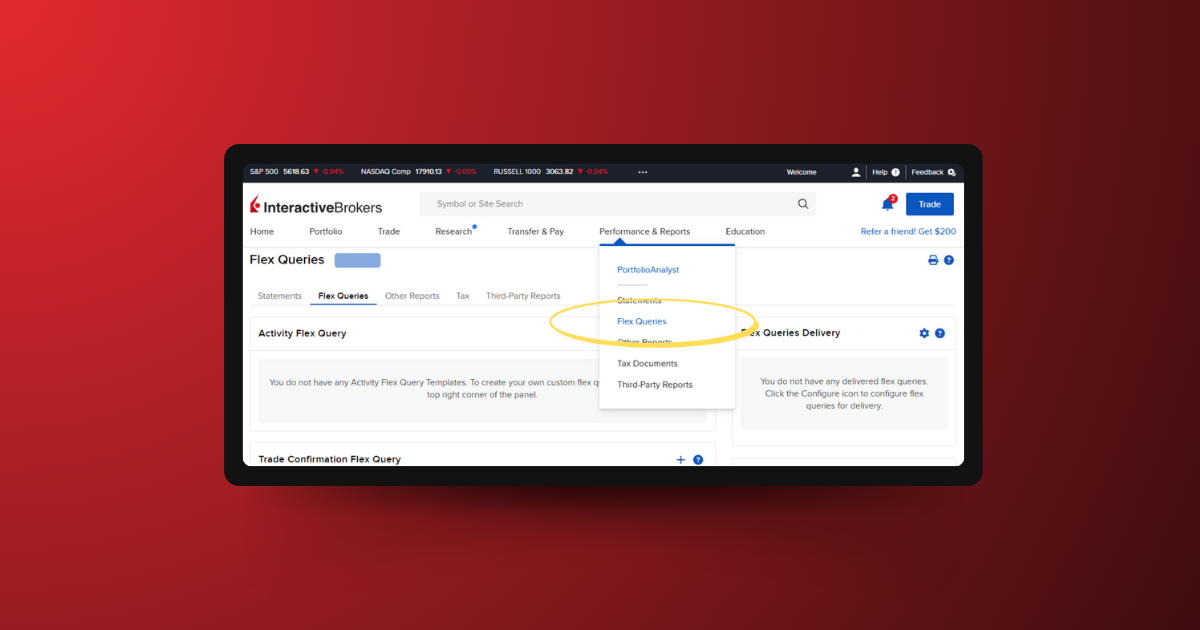
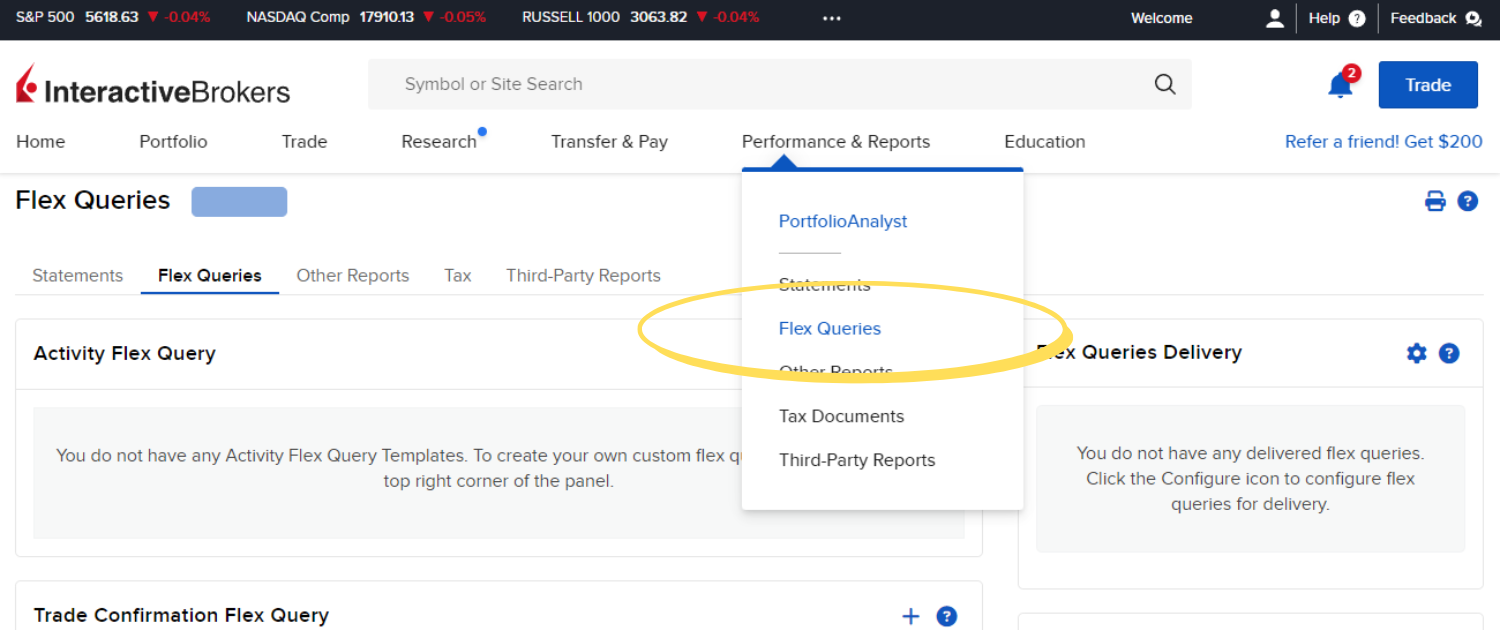
Once logged in, locate the “Performance & Reports” section. Within the Performance & Reports section, find and select “Flex Queries.” This option allows you to create customized queries for detailed reports.
2. Create a New Flex Query
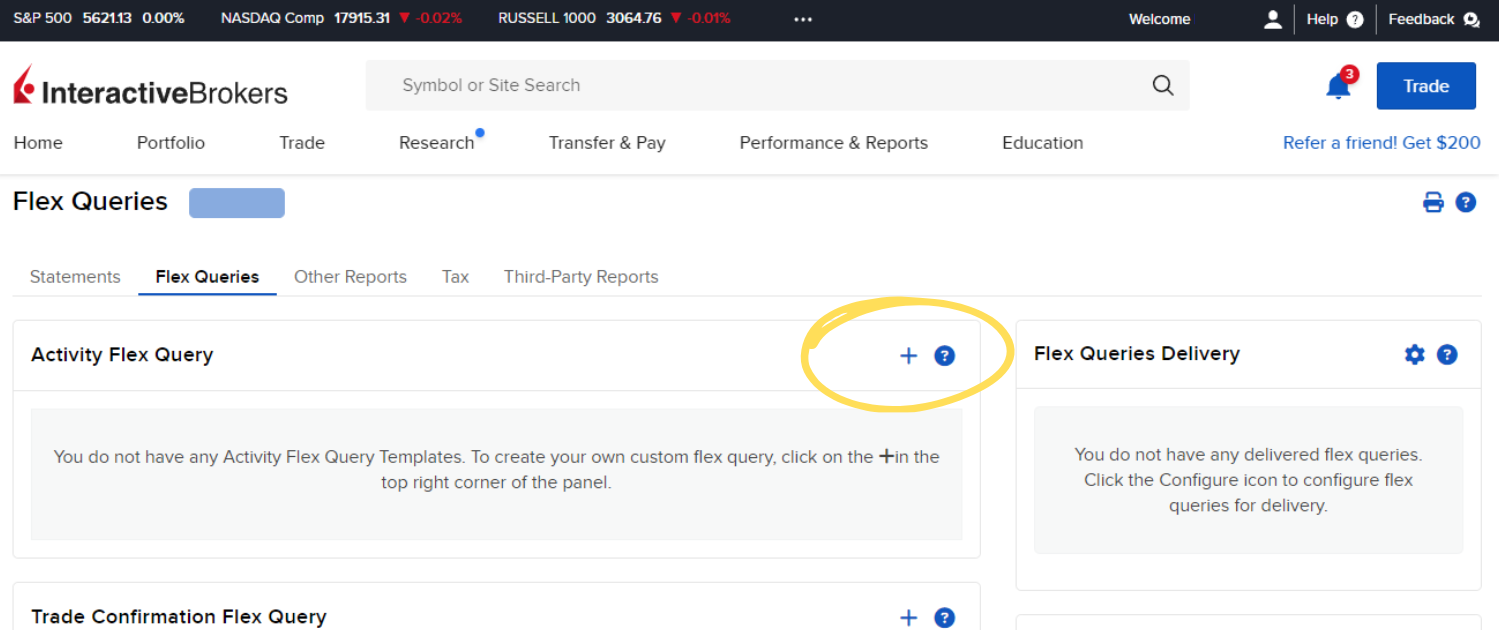
Click on the option to create a new Flex Query. This will open a setup page where you can define the parameters of your query. The icon will appear as a “+” to the right of the Activity Flex Queries available. Once we’ve created the report, this is where you’ll find the list of report types available for you to quickly re-run in the future.
3. Naming Your Flex Query
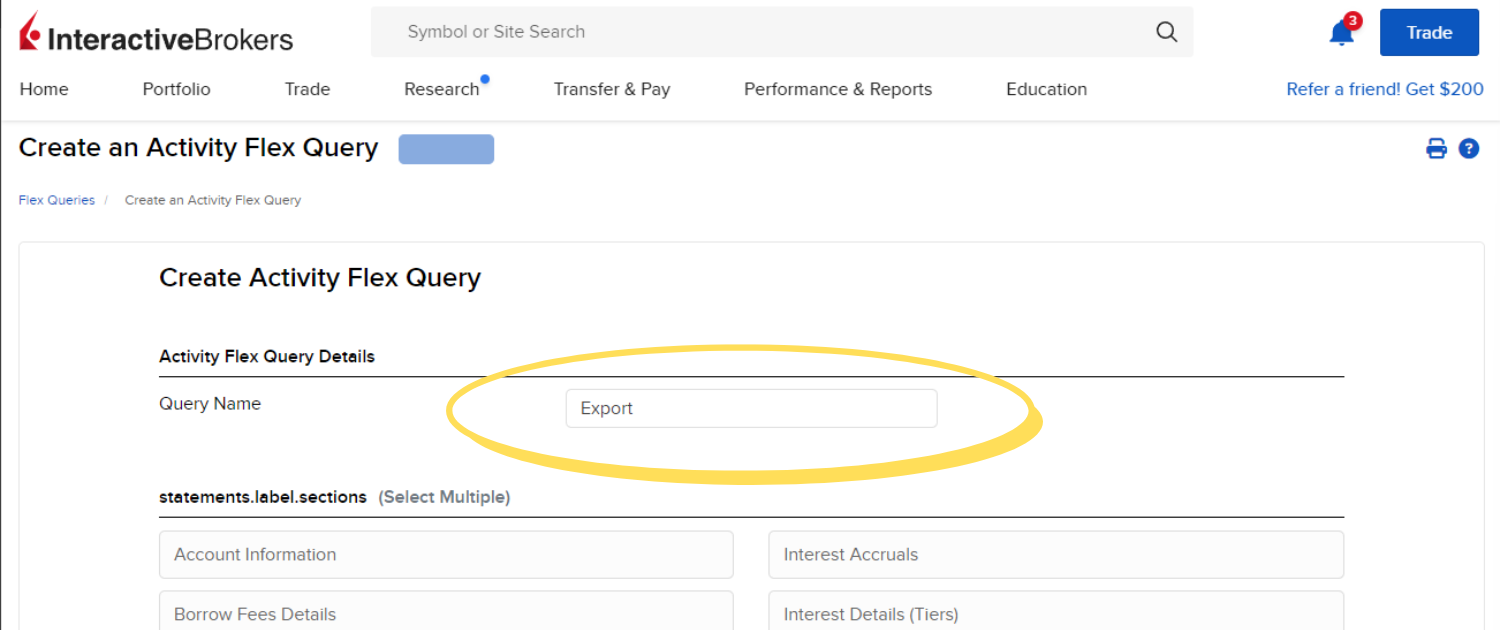
You will be prompted to name your new Flex Query. For this example, let’s name it “Export.” However, feel free to name this anything you’d like. Later, you may create specific reports to track dividends, balance information, or various other account information.
Name these reports something simple you’ll be able to recognize later on.
4. Configure Your Query Selections
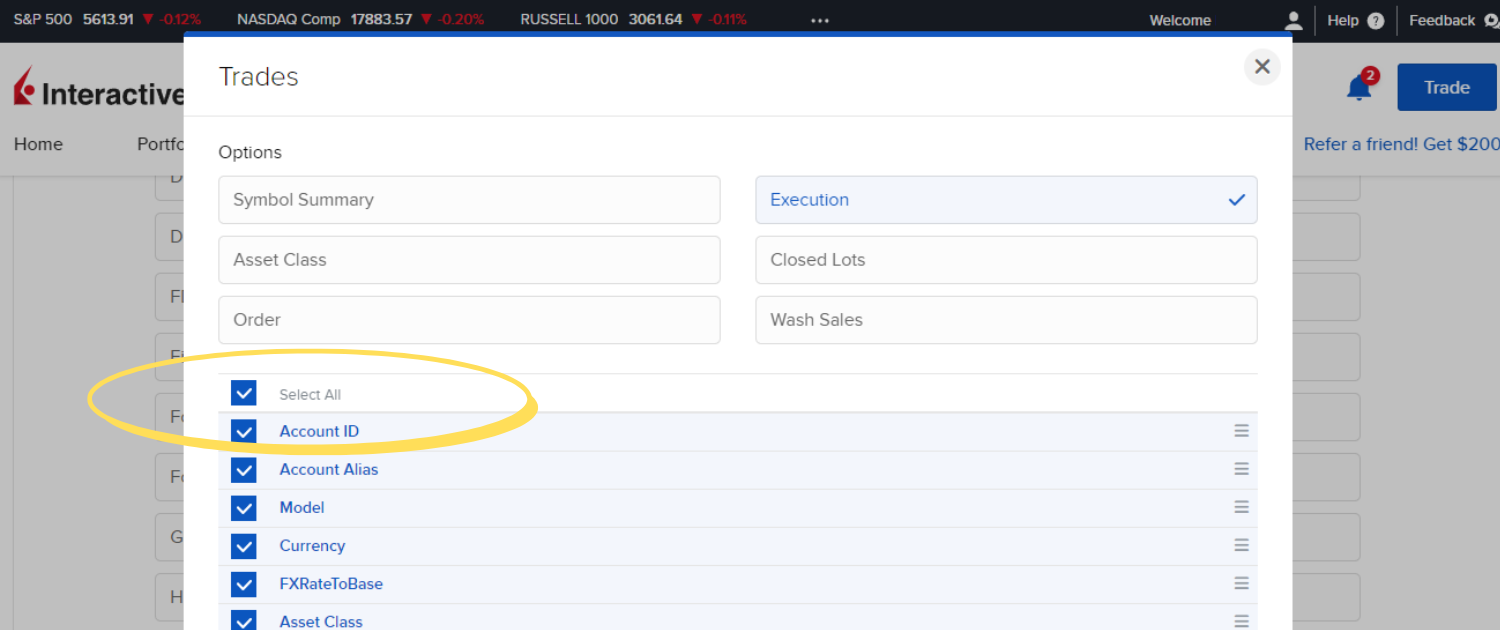
Scroll down to the list of available selections. Look for and select “Trades.” This ensures that the Flex Query will focus on your trade history. Once you select “Trades,” choose the “Select All” option to include all relevant trades in your query. This will ensure that the exported file contains comprehensive trade data.
After you’ve selected all the query parameters available, scroll down and select the “Save” button in the lower right hand corner of this window.
5. Save and Continue
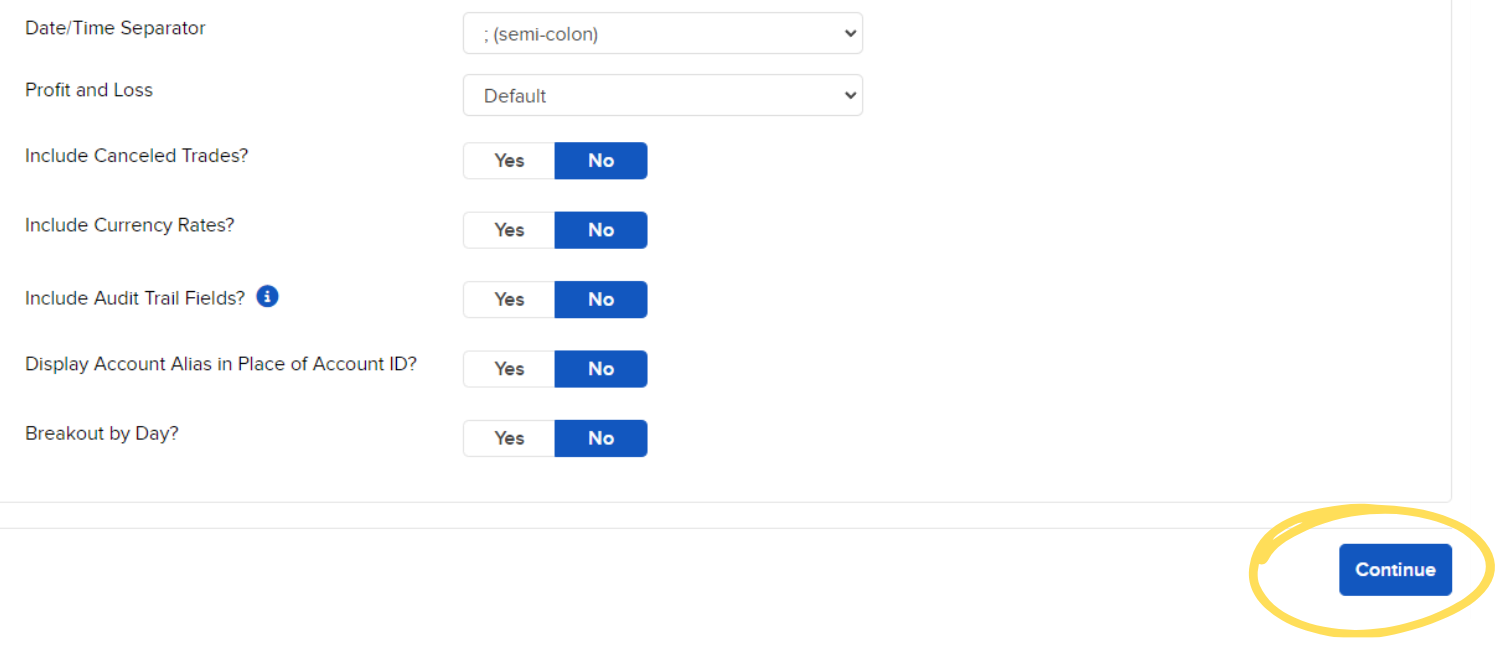
After saving, scroll down to the bottom of the page and click the “Continue” button. This will finalize your Flex Query setup and make it available as a report type. Before doing this, you’ll also see some time frame and file type parameters which will create a default for this report each time you run it in the future.
However, this can also be done when you run the report so does not need to be done now.
6. Run the Flex Query Report
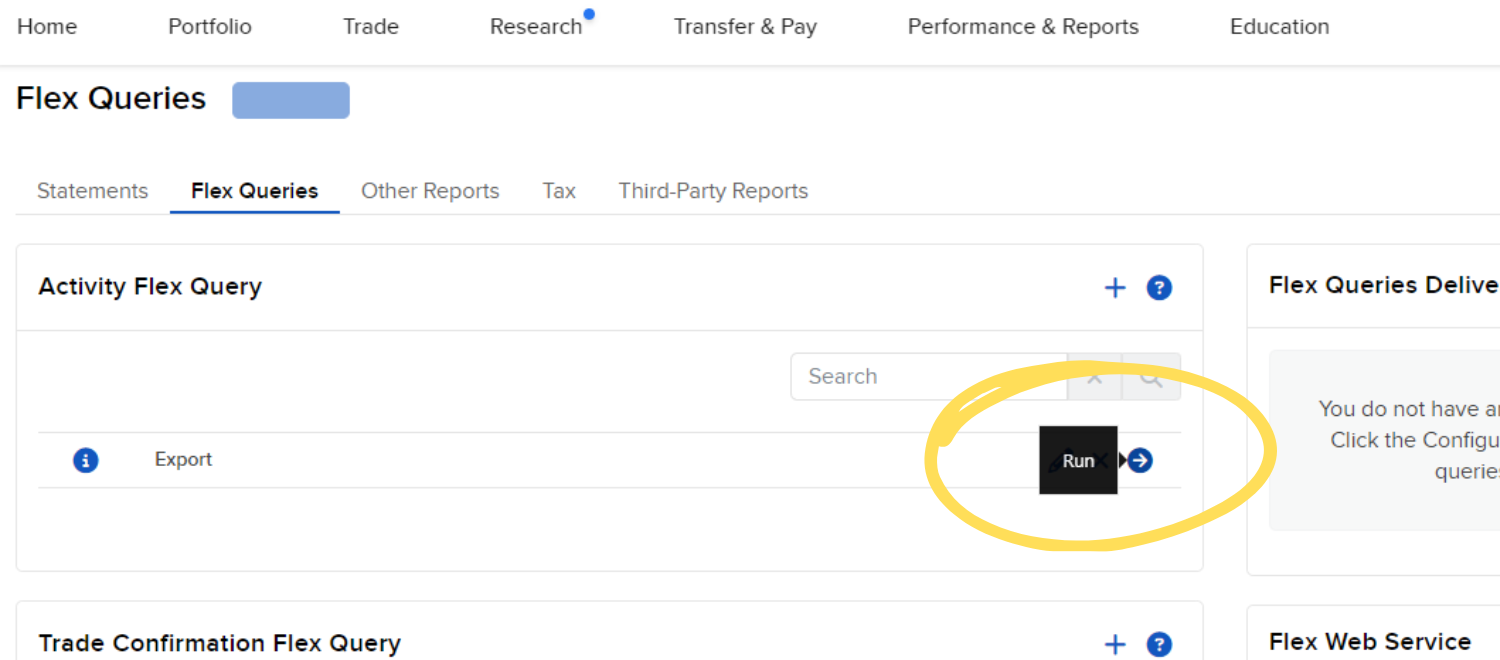
On the Flex Queries page, locate your newly created query named “Export.” Click the “Run” button to execute the query and generate the report.
7. Download Your Trade History
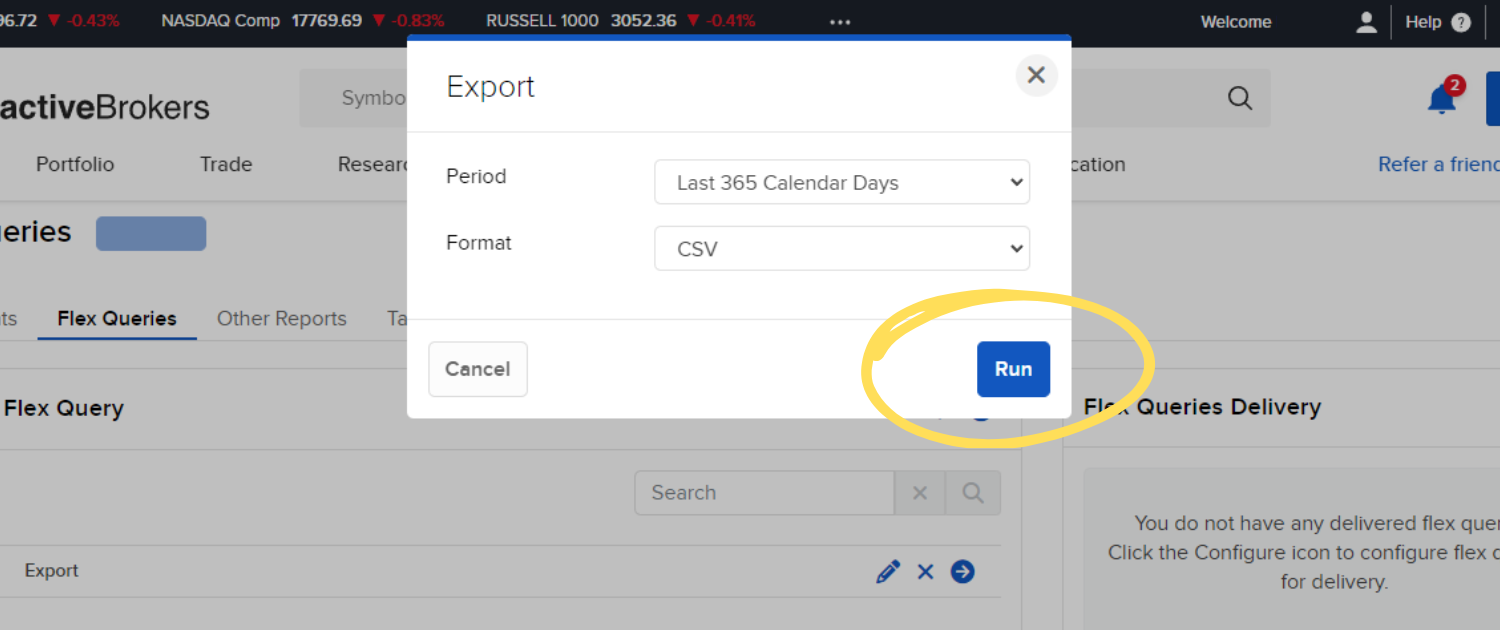
You’ll then be prompted to select the period for the report. The maximum period is 365 days, but you can also select a custom time frame. If you have multiple years worth of data to upload you’ll need to generate and upload multiple reports.
You’ll then choose the file format and select “CSV.” Finally, click the “Run” button in the lower right-hand corner to proceed. Once downloaded, you’ll then find your trade history in your recently downloaded folder.
Importing Your Trades into TraderLog
Now that you’ve got your trade history saved, let’s walk through how to import those trades into TraderLog. Don’t worry, the process is super simple and user-friendly.
Step 1: Clicking the ‘New Trade’ Button
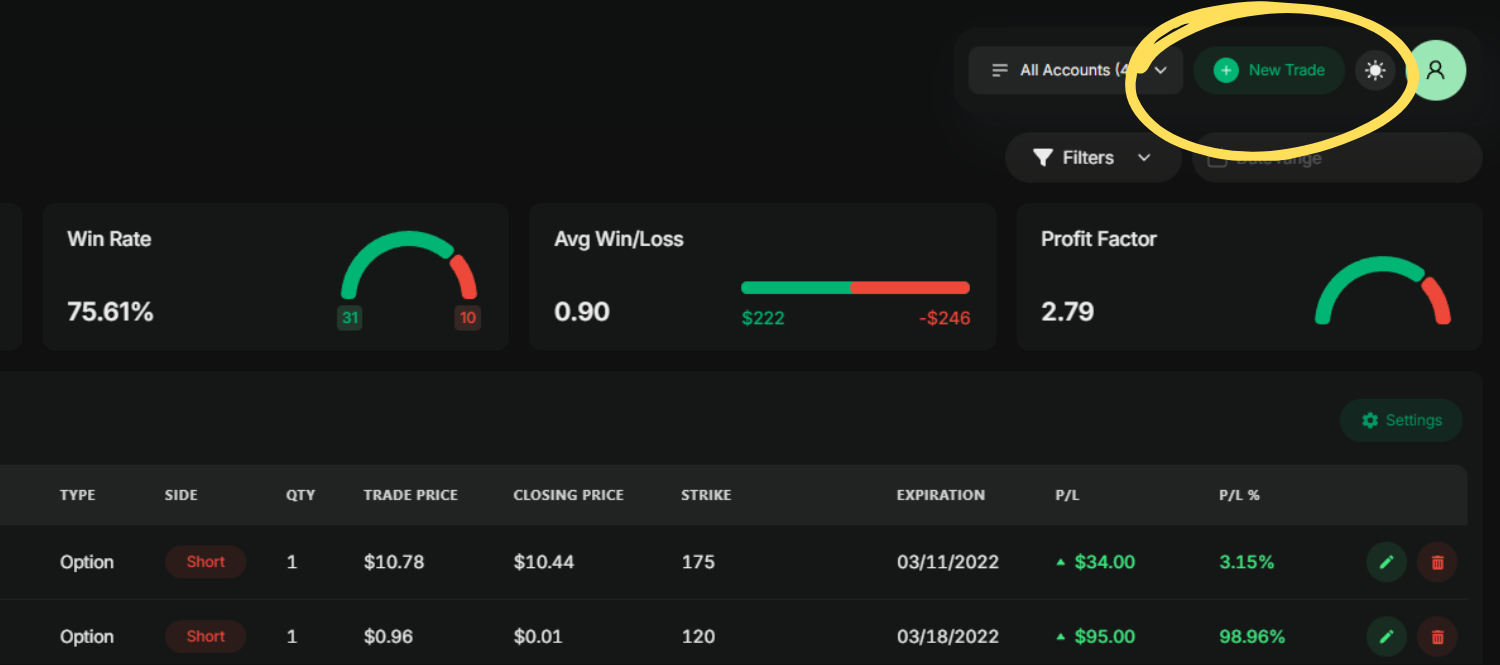
After logging into TraderLog, the first thing you’ll want to do is click the ‘New Trade’ button. You’ll find it in the top right corner of your dashboard. This is the same button you’d use if you were manually entering trades.
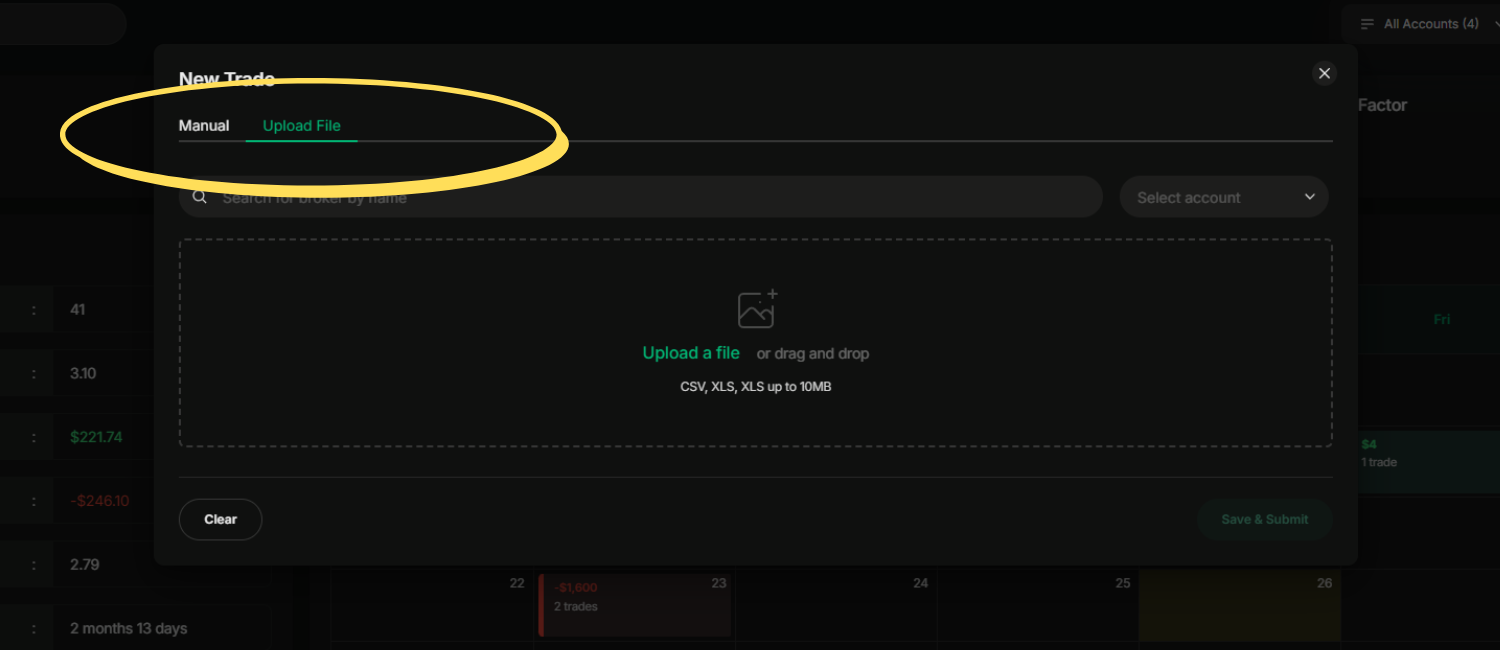
Once you click ‘New Trade,’ a new window will pop up. Here, you have two options: you can either manually input trade details or import your file. For the latter, simply find the ‘Upload File’ button in the window—this is where you’ll upload your CSV or Excel file. Go ahead and click that to continue.
Step 2: Uploading Your Trade File
In the window that pops up, you’ll see an option labeled ‘Upload File’. This is where you’ll upload your CSV or Excel file that contains your trade history. Just click that button to move forward.
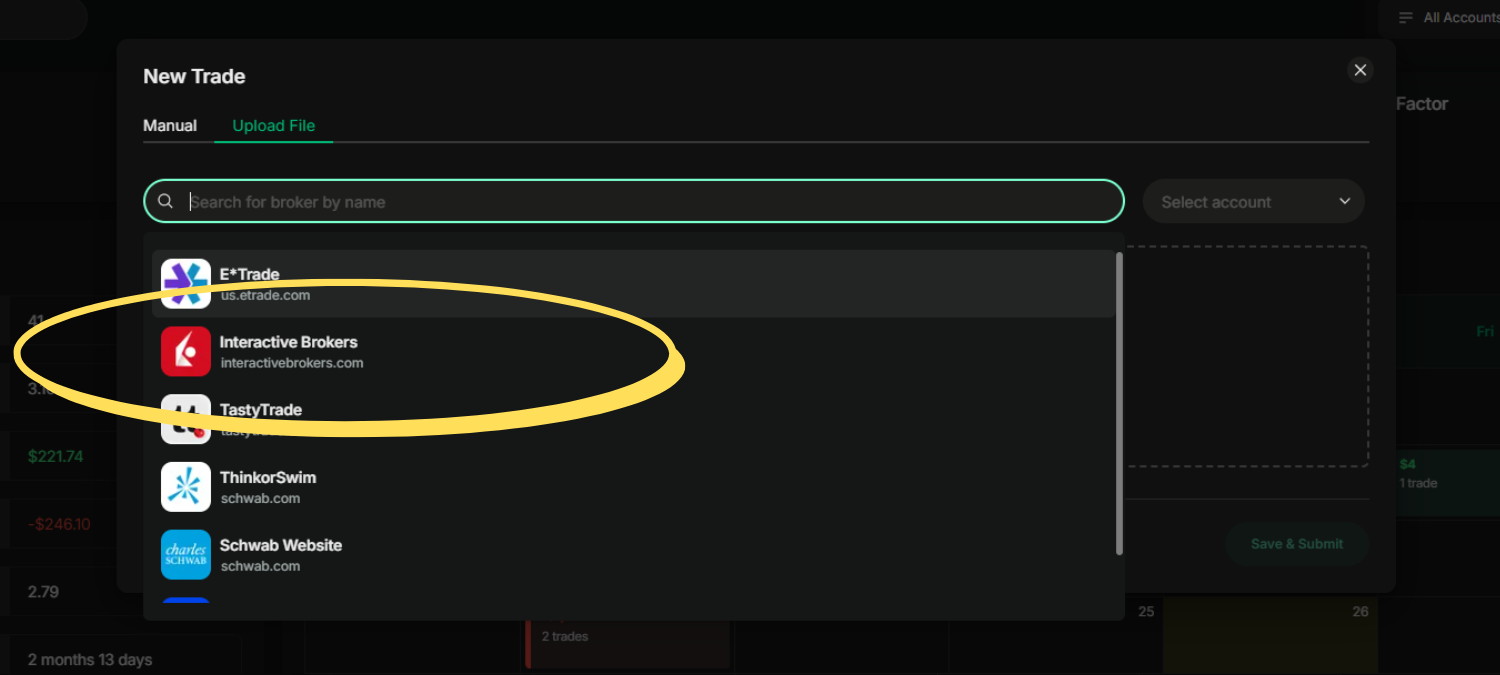
Next, you’ll be asked to select your broker from a dropdown list. TraderLog supports a bunch of brokers, so just make sure to pick the one that matches the statement you saved earlier.
If you’ve linked multiple trading accounts in TraderLog, you’ll also need to choose the correct account at this step. This ensures the trades are imported into the right account within the platform.
Step 3: Completing the Import
After you’ve selected your broker, chosen your account, and uploaded your trade file, you’re ready to finalize the process. Just hit the ‘Save & Submit’ button located in the bottom right corner of the window.
Keep in mind, the ‘Save & Submit’ button will only be clickable once all the necessary fields (broker, account, and file) are filled out. If anything is missing, the button will stay disabled—so double-check everything before hitting submit!
FAQs
1. How often can I import trades?
You can import trades as often as you’d like. There’s no limit to how frequently you upload new trade files into TraderLog.
2. Can I import trades from multiple brokers?
Yes, TraderLog supports multiple brokers, and you can import trades from different accounts into the same platform.
3. What file formats are supported for import?
TraderLog supports both CSV and Excel (XLS/XLSX) file formats for trade imports.
4. Can I edit imported trades after submission?
Yes, once your trades are imported, you can edit the trade details within the platform to make any necessary adjustments.

