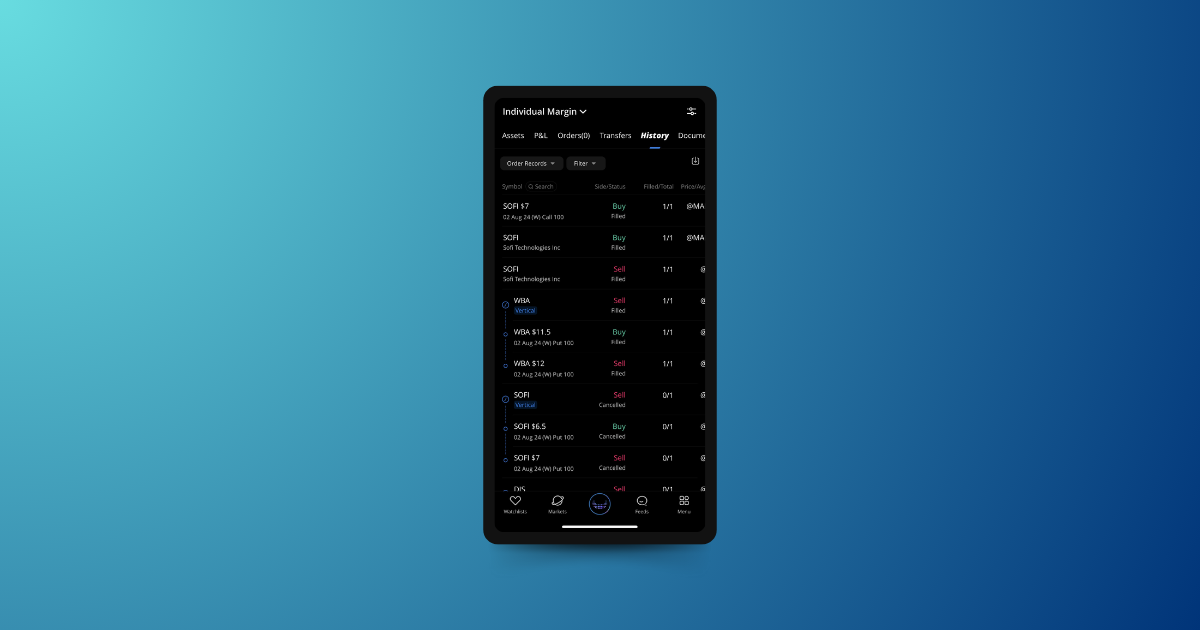
Exporting your trade history from Webull is a bit different compared to other platforms because it can only be done through the mobile app. Here’s how you’ll do it:
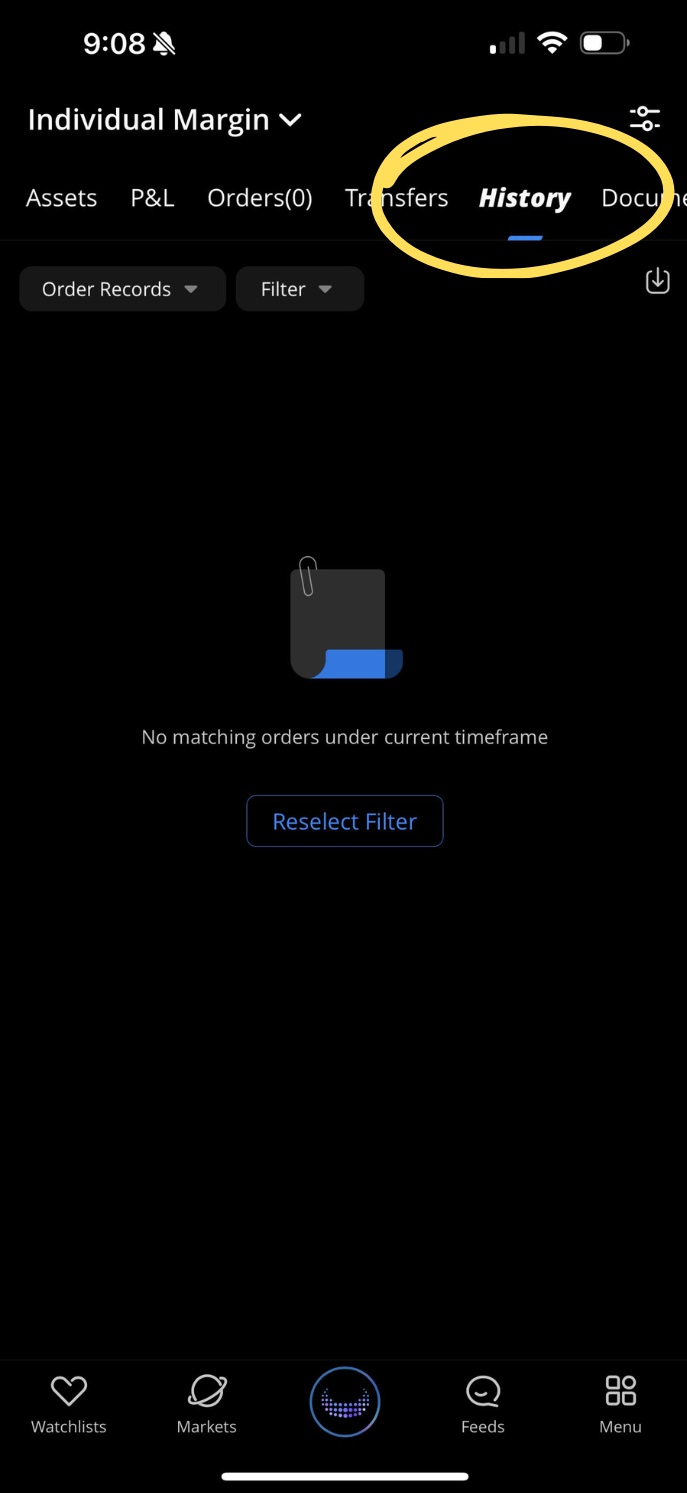
You’ll first need to navigate to the Account tab on the mobile app and navigate to the History page. The accounts section provides you an overview of your portfolio, account balance, and positions. For exporting your trade history, you’ll need to focus on the history page.
- Open the Webull Mobile App: Start by opening the Webull app on your mobile device and logging in if you haven’t already.
- Go to the Account Tab: Once you’re logged in, look at the bottom of the screen and tap on the “Account” tab. This is where you’ll find all your account-related information and options.
- Tap on History: Within the Account tab, look for an option labeled “History” and tap on it. This will take you to a detailed view of your past transactions.
2. Select Time Frame
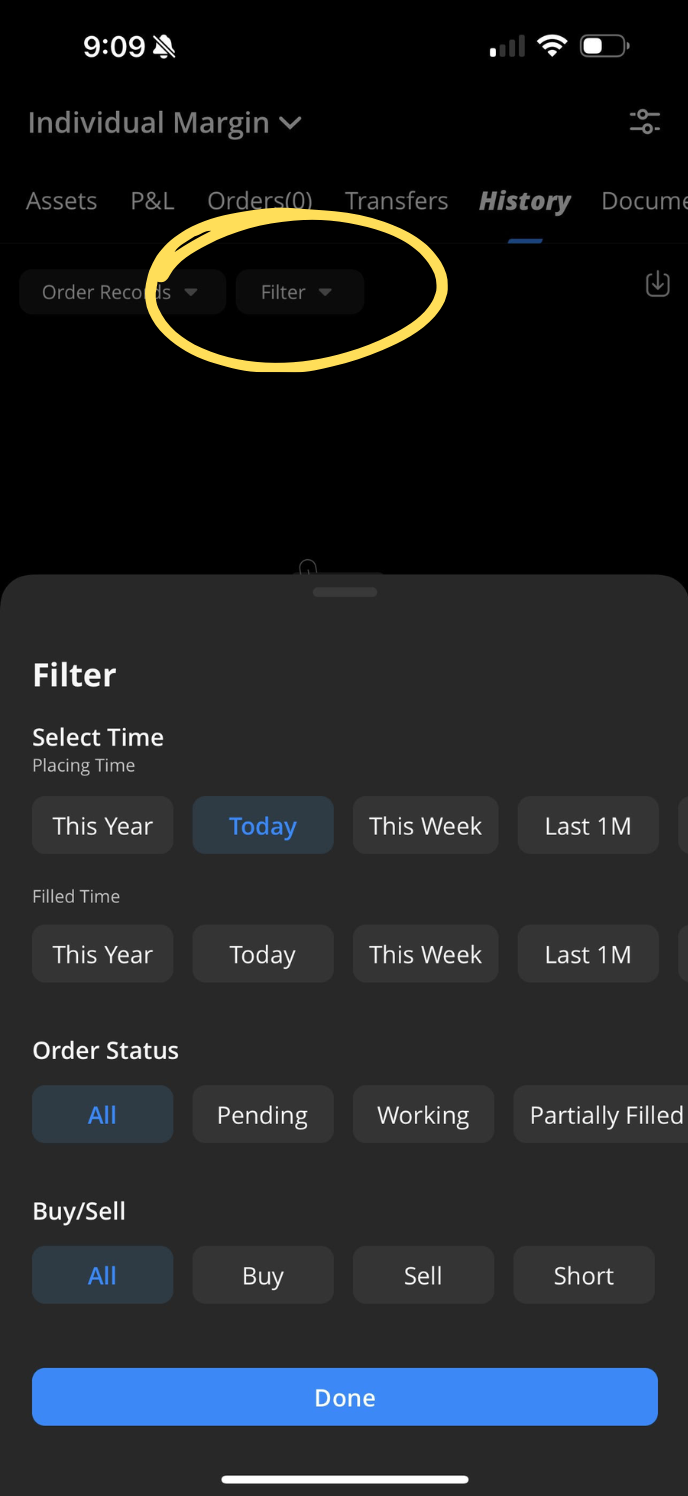
To make sure you’re exporting the exact data you need, Webull allows you to filter your history. As you apply these filters, the History section will update to show only the transactions that match your criteria.
- Filter by Transaction Type: At the top of the History section, you’ll see options to filter by transaction type, such as Order Records, IPO Orders, Dividend Records, Exercise Records, and Funds Records. Select the one that matches the data you want to export.
- Adjust the Time Frame: You can also set a specific time frame for your data by selecting the start and end dates. This is helpful if you’re only interested in transactions from a certain period.
- Select Order Status and Trade Side: Further refine your results by filtering based on the order status (e.g., completed, canceled) and the trade side (buy or sell).
3. Request Trade History
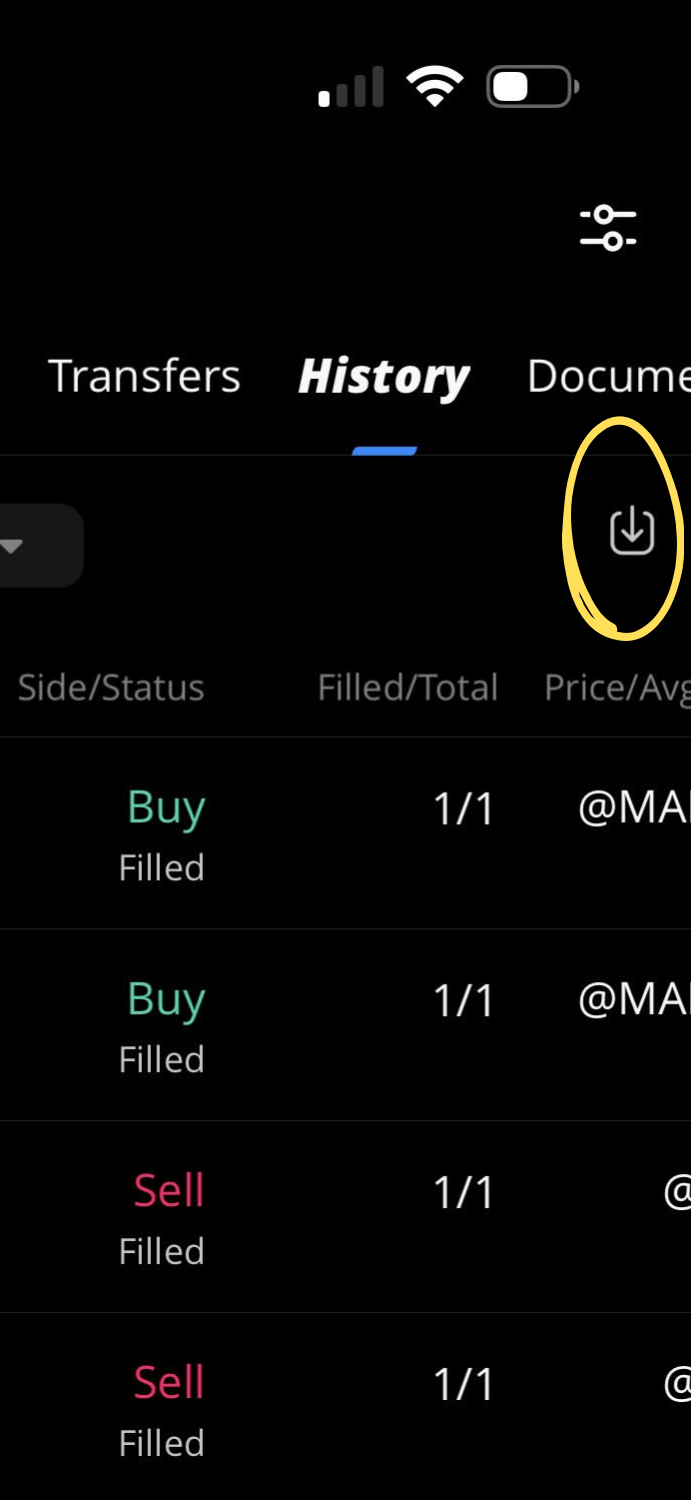
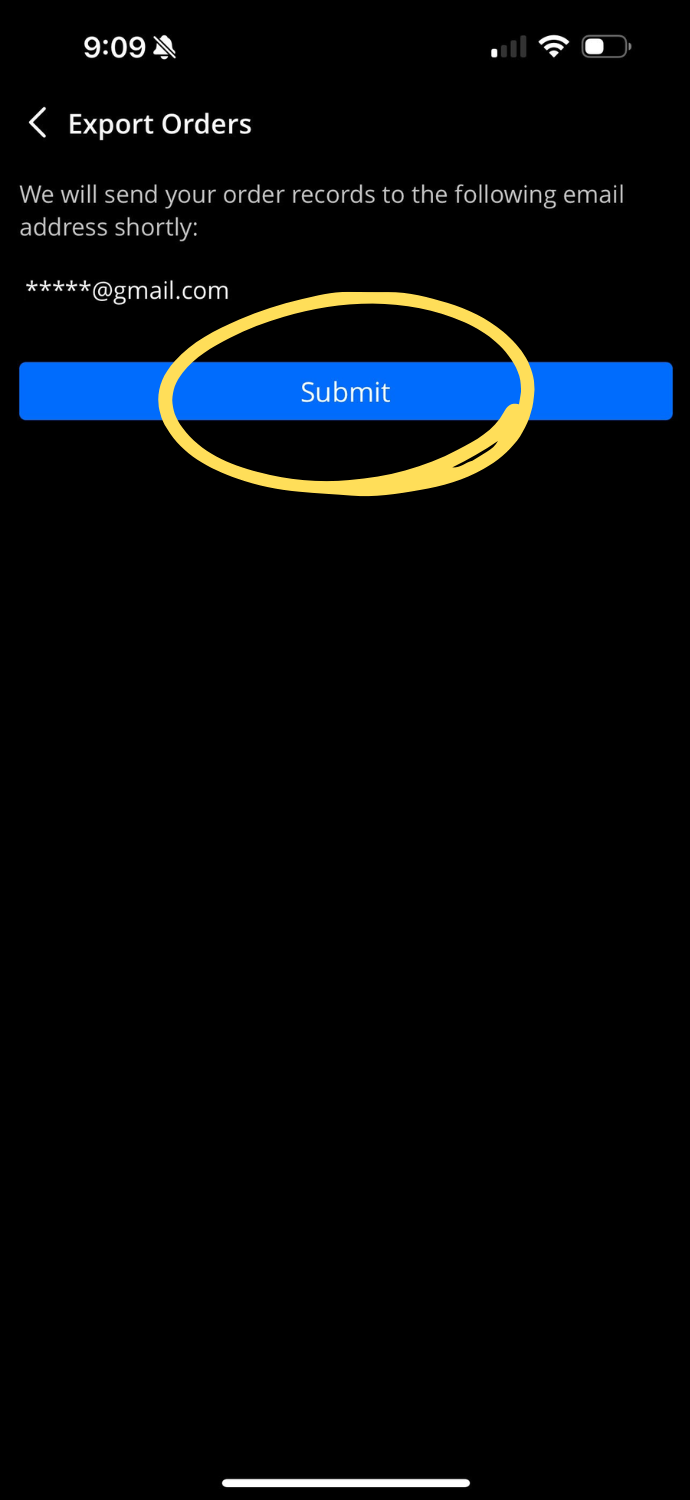
After you’ve selected the time frame and added any additional filters, you’ll then export by using the download icon in the upper right hand corner of the history page. This will then send you to the Export Orders page where you’ll be able to submit your request.
4. Submit Request
After tapping the download icon, you’ll be prompted to confirm your request. Click the “Submit” button, and Webull will automatically prepare your data. After submitting your request, Webull will send an email to the address associated with your account. This email will contain multiple Excel files, each organized by transaction type (e.g., one file for order records, another for dividend records).
Importing Your Trades into TraderLog
Now that you’ve got your trade history saved, let’s walk through how to import those trades into TraderLog. Don’t worry, the process is super simple and user-friendly.
Step 1: Clicking the ‘New Trade’ Button
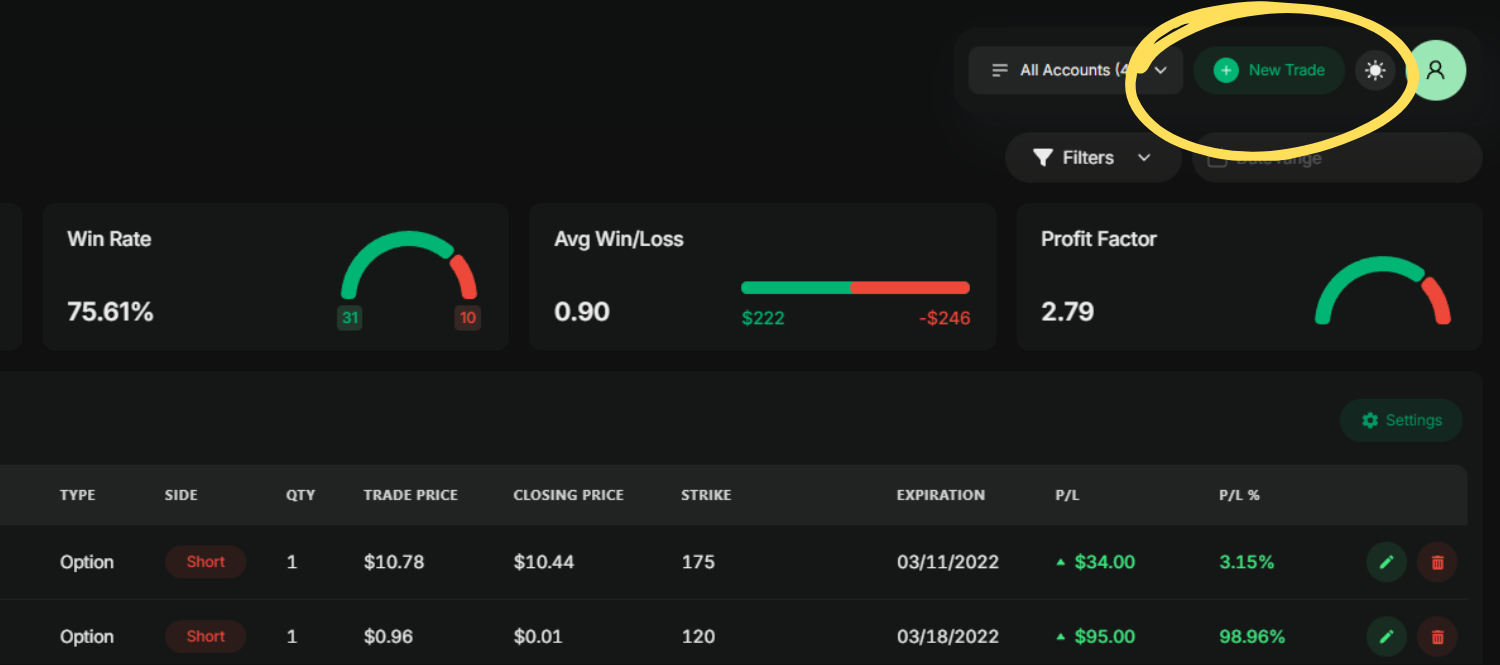
After logging into TraderLog, the first thing you’ll want to do is click the ‘New Trade’ button. You’ll find it in the top right corner of your dashboard. This is the same button you’d use if you were manually entering trades.
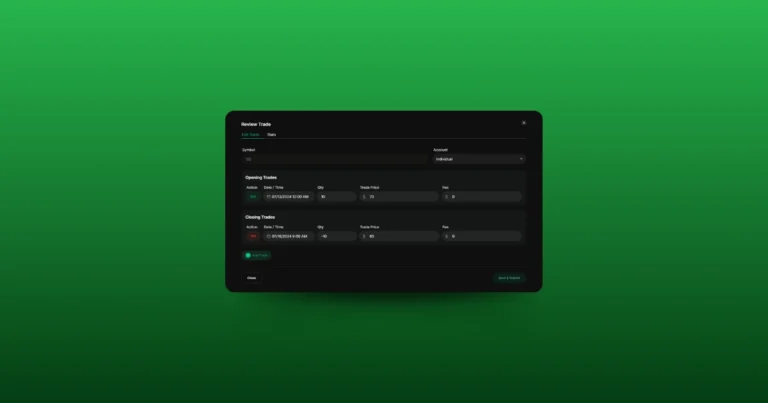
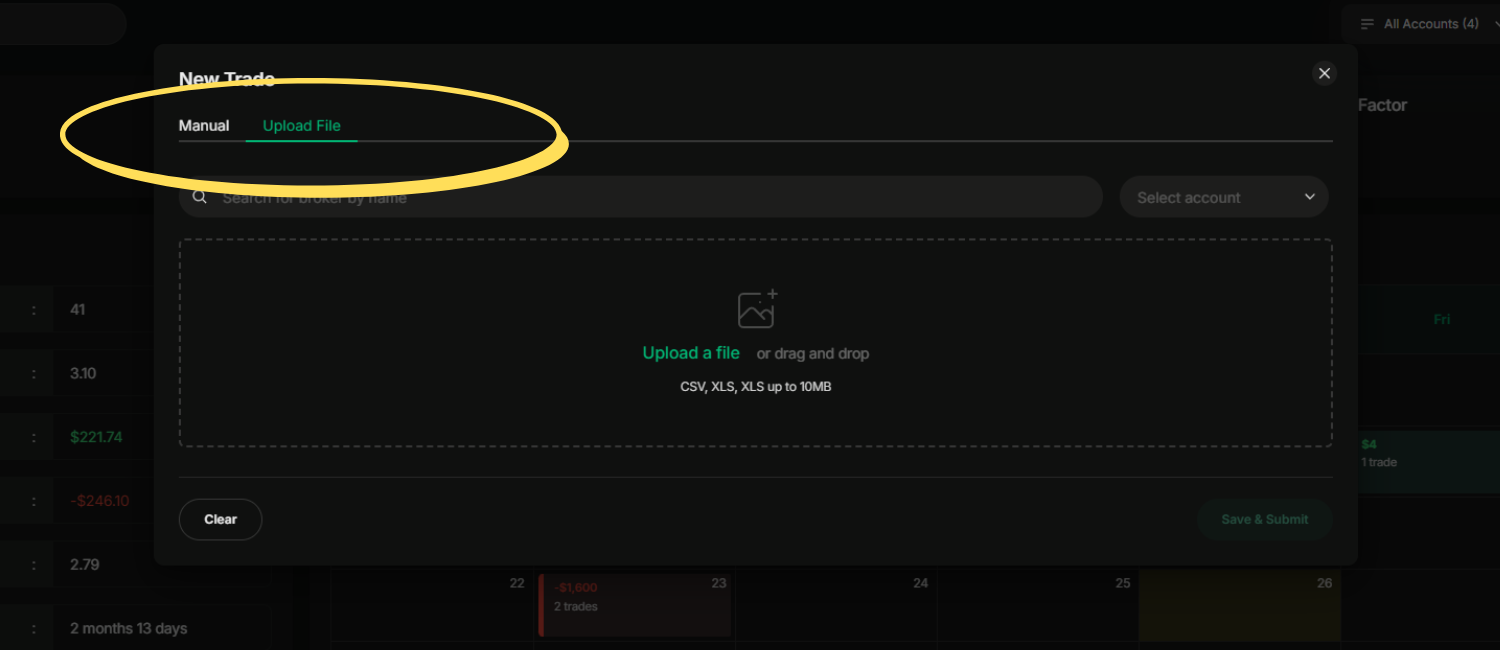
Once you click ‘New Trade,’ a new window will pop up. Here, you have two options: you can either manually input trade details or import your file. For the latter, simply find the ‘Upload File’ button in the window—this is where you’ll upload your CSV or Excel file. Go ahead and click that to continue.
Step 2: Uploading Your Trade File
In the window that pops up, you’ll see an option labeled ‘Upload File’. This is where you’ll upload your CSV or Excel file that contains your trade history. Just click that button to move forward.
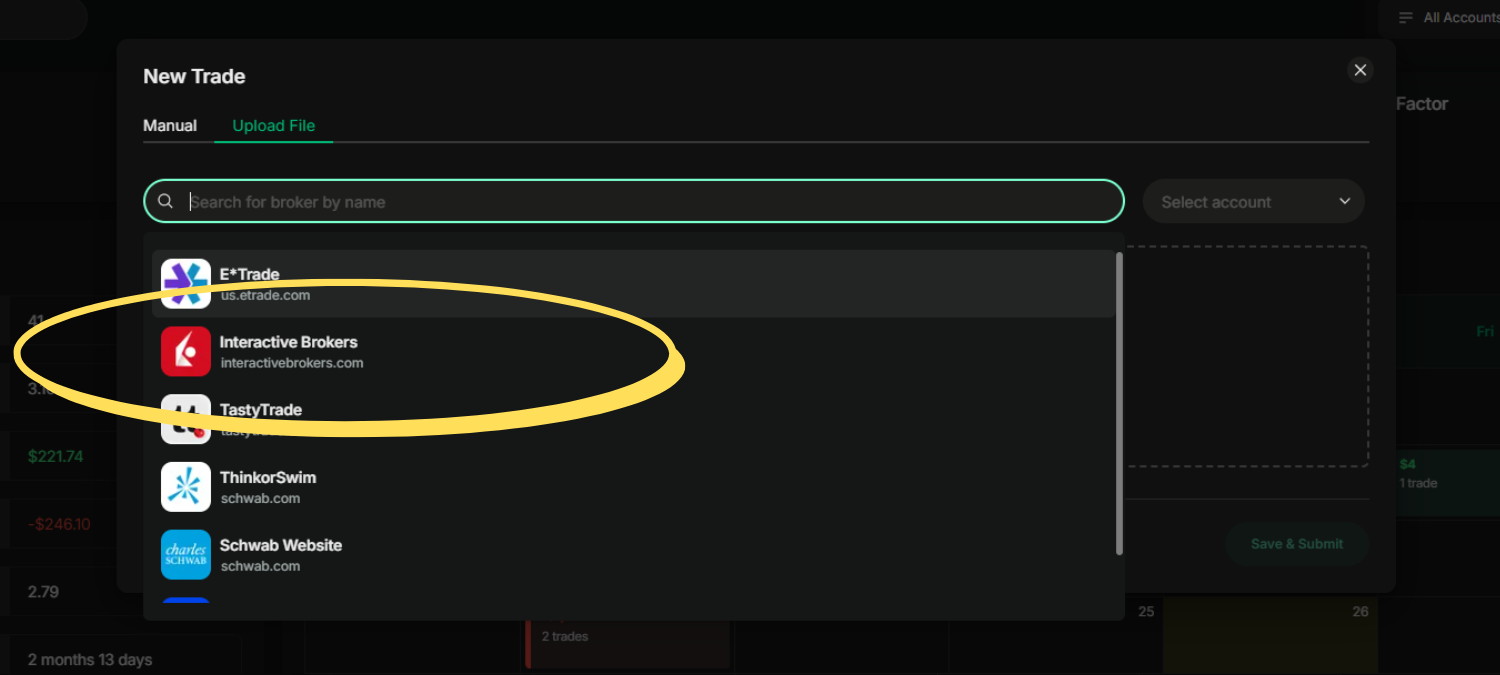
Next, you’ll be asked to select your broker from a dropdown list. TraderLog supports a bunch of brokers, so just make sure to pick the one that matches the statement you saved earlier.
If you’ve linked multiple trading accounts in TraderLog, you’ll also need to choose the correct account at this step. This ensures the trades are imported into the right account within the platform.
Step 3: Completing the Import
After you’ve selected your broker, chosen your account, and uploaded your trade file, you’re ready to finalize the process. Just hit the ‘Save & Submit’ button located in the bottom right corner of the window.
Keep in mind, the ‘Save & Submit’ button will only be clickable once all the necessary fields (broker, account, and file) are filled out. If anything is missing, the button will stay disabled—so double-check everything before hitting submit!
FAQs
1. How often can I import trades?
You can import trades as often as you’d like. There’s no limit to how frequently you upload new trade files into TraderLog.
2. Can I import trades from multiple brokers?
Yes, TraderLog supports multiple brokers, and you can import trades from different accounts into the same platform.
3. What file formats are supported for import?
TraderLog supports both CSV and Excel (XLS/XLSX) file formats for trade imports.
4. Can I edit imported trades after submission?
Yes, once your trades are imported, you can edit the trade details within the platform to make any necessary adjustments.

